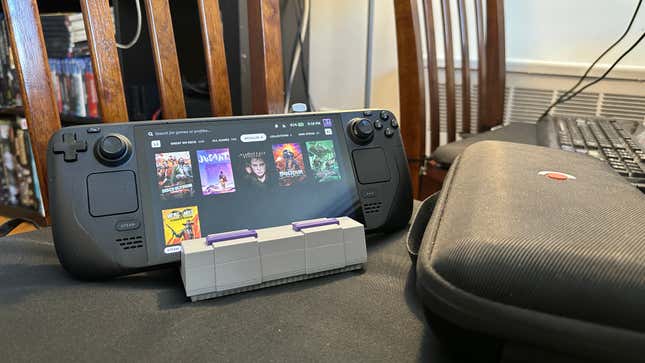
The Steam Deck remains extra popular partly due to the stranglehold Valve’s Steam has on the PC games market but also partially because it (arguably) popularized the modern rendition of the handheld console. It’s not the smallest, it’s not the most powerful, but damn is it appealing. More than two years after the Deck’s original release, we now know the full extent of the console’s capabilities. After getting to know your Deck inside and out, it could easily become your favorite gaming device, bar none. I know it’s become that for me.
The Deck is running a Linux distro that centers itself on Steam in particular, so it makes getting a few other game clients like Epic Games Store a bit more tricky. If you’re looking for other Windows-based gaming handhelds, there’s the still-popular ROG Ally or the perfunctory but still workable Lenovo Legion Go. Though, to be honest, until Microsoft finally releases a scaled-down version of its OS for this form factor, it might be better to stick with the still-buggy SteamOS.
But you don’t have to feel stuck to Steam with your Deck. While we’ve done guides for consoles like the PlayStation 5, Xbox Series X, and Nintendo Switch, the Steam Deck is effectively a Linux-based PC running a special UI called SteamOS. If you can get it to run on a PC, you can pretty much get it working on a Steam Deck. Now, that comes with a fair bit of hassle as well. Your average user is more used to simply downloading the Netflix app to access their shows but not having to download a separate app to access cloud services through what’s ostensibly just a device for playing your Steam library on the go.
But that open ecosystem has allowed for the Steam Deck, and by extension, its other handheld console contemporaries, to become one of the best platforms for game emulation, streaming from your PC or even another console. With two years under its belt and a refresh, thanks to the Steam Deck OLED, we’ve now seen far more of what the Deck is capable of, and it’s only going to get better as time goes on.
A lot of the more complicated applications on the Steam Deck require you to access Desktop Mode. It’s actually very simple. Hit the Steam button on the Steam Deck, go down to Power, then choose Desktop Mode. This will bring you to a desktop that will look familiar to anybody who’s used a version of Linux before, but if you have any experience with Windows, it shouldn’t prove too difficult to unpack. The Steam Deck uses KDE Plasma, an open-source Linux distro, and it’s pretty simple to wrap your head around, so if you’re a complete newbie to this sort of environment, don’t sweat it. We’re here to get the most out of your deck, and soon enough, you’ll be running emulators and running non-Steam content with the rest of the “hardcore” users.
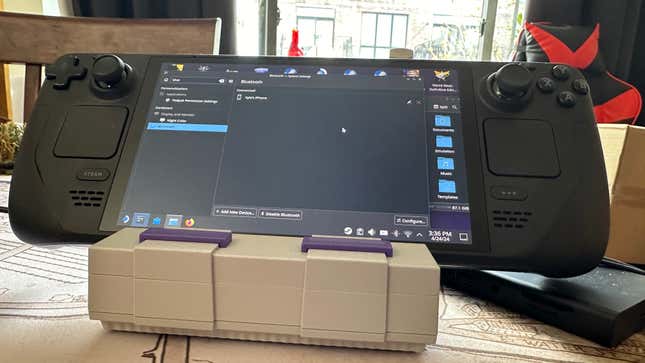
This might be one of the least-known tricks you can do with your Steam Deck if you don’t want to go through the hassle of signing into Spotify or Apple Music through your deck.
When you go into Desktop Mode, click the System Settings icon in the bottom right, search for Bluetooth, and then pair your phone with the Steam Deck. You may need to hang out on both devices’ Bluetooth screens to ensure they’re hooked up, but this should be a relatively painless process.
Once that’s done, your Steam Deck should now play any of the audio coming from your phone. If it’s not currently working, you may need to set the default audio settings on your phone to make the Steam Deck the default speaker. Otherwise, you’ll be able to control your music and the in-game audio independently, or else hook your deck to a dock and use it as a small, if not terribly great, speaker if you want some ambient audio in a pinch.
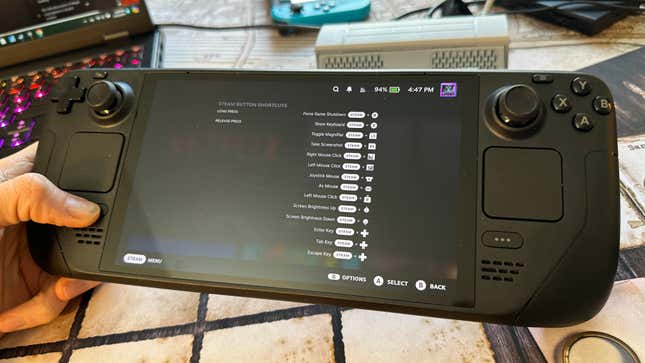
Want to change your Steam Deck’s brightness on the fly without clicking through any menus? Surprise, surprise, there’s a quick button shortcut for that. Hit the Steam button and move the left joystick up or down.
There’s a bunch more, and some of them can be pretty handy. When you’re in Game Mode, hold the Steam button down for a second, and you’ll see the full list of shortcuts available. Some of these are extra useful, such as Steam + B to force quit a game. If you ever need to bring up the on-Deck keyboard, simply hold down the Steam + X, and you’ll be able to type away.
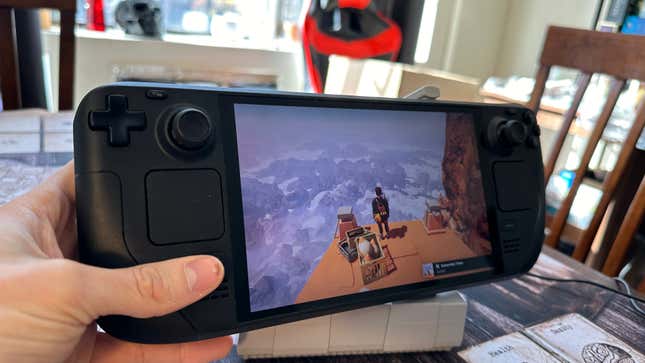
If you’re already used to hitting F12 to screenshot on your regular Steam client, you should also know there’s an easy way of screenshotting on your deck as well. Hold the Steam button and hit the R1 bumper; the screenshots will show up in your albums under the Media tab for you to peruse.
As for screen recording, it’s currently not incorporated directly into Steam Deck itself, even though other major systems like the PS5 and Xbox have features that let users record footage even after they’ve already done it. Maybe that’s too much for the small Deck to handle, but it’s a grave omission for today’s expectations for an all-in-one gaming device.
Some folks have found success with a program called Decky Loader and another app called Decky Recorder. It’s a less-than-ideal situation, but if you’re desperate to record natively on your deck, that might be the best route.
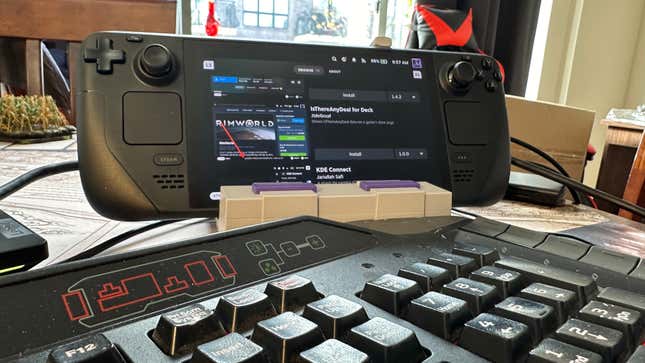
The freeware Decky Loader app for Steam Deck offers a heap of extra capabilities you don’t have based in the Deck’s Game Mode. All you have to do is download the file in Desktop Mode from any browser, then open it up in your files and hit Execute. This will take you to an installation screen where all you have to do is follow the prompts, and then you should be all set.
Once you go back to Game Mode, hit the button on the Deck with the three dots, then scroll down to the Decky menu. Hit the button on the top right that looks like a market stall, and you’ll be brought to a new UI where you can easily download a host of neat customization plugins you can install. There’s a plugin that makes it easier to include custom animations on your deck and replace Steam UI sound effects. There’s another plugin to access your RetroAchievements from EmuDeck that’s also plenty of fun if you want to turn your Deck into an emulation beast. Select which plugins work best for you, then hit Install.
We recommend some plugins like vibrantDeck to adjust color settings, Discord Status to share your status with friends on Discord, or perhaps Animation Changer if you want to truly customize what plays when you’re browsing your Deck’s menus.
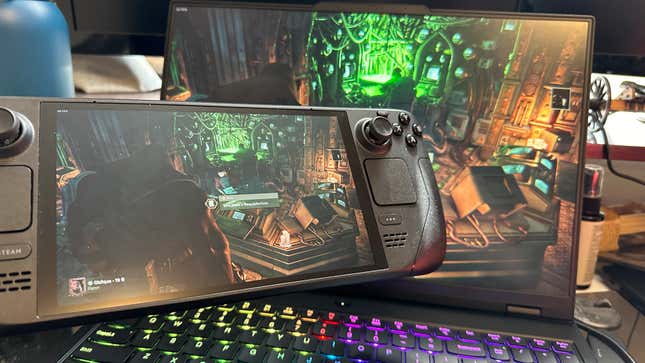
The Steam Deck might not be the most powerful gaming handheld out there, but it also might be the easiest to use for streaming from your other gaming devices, whether it’s a PC or a console.
Enabling remote play from your PC means you can get better graphics output than what the Steam Deck can natively handle, so if you’re playing at home and your computer’s on, you can enjoy your gaming experience right from the couch. Going through Steam is–obviously–going to be your easiest option here. First, on your PC, make sure the streaming setting is enabled by going to your Steam app, hitting the Steam button up top, and then going to Settings. Under the Remote Play section, make sure Remote Play is enabled and Enable Advanced Host Options is also toggled on. Make sure Change desktop resolution to match streaming client is also clicked on.
Then, on your Steam Deck, you’ll need to click on the game you want to stream, hit the arrow next to the play button, and then select the device you want to stream from. Hit Stream, and it should launch the game on the computer while streaming to your Deck.
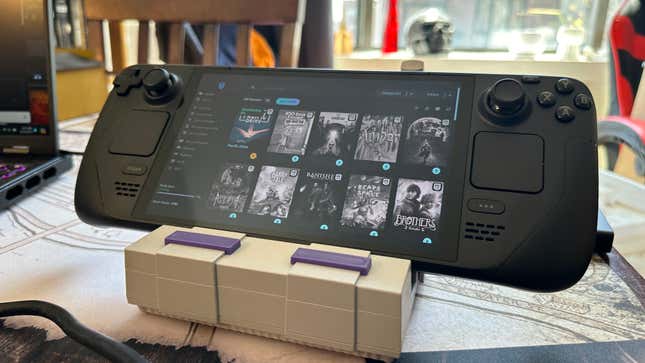
If you’re one of those folks who has their games split between multiple clients, this is your best option for getting these to work on a Steam Deck. Epic Games Store currently doesn’t support Linux, so if you want everything in one place, it’s far easier to use the Heroic Launcher. The app is essentially a third-party multimodal launcher that you can log into your Epic Games, GOG, and Amazon to access some of your titles. We should note that you don’t need Heroic or any other separate launcher to add non-Steam games to the Steam Deck, but we found it a bit easier overall.
You’ll probably want to have a keyboard and mouse plugged in to make this process smooth. First, go to the Discover app on the KDE Plasma taskbar. Then, search for Heroic Launcher, download it, and hit the launch button at the top.
Once in, choose Log in along the left side column and sign into your accounts. To make things easier, you’ll want to be able to access these non-Steam games from your main account. So, while you’re in Desktop Mode, open up the Steam client and look up on the top row where it says Games. Click that, then hit Add a Non-Steam Game to My Library. Scroll until you see the Heroic Games Launcher. Click that, then hit Add Selected Programs.
You should now have access to some of your non-Steam games, though you might encounter other runtime problems. First, you will be asked to switch to a version of the proton that requires you to install Visual C++ libraries. In that case, you’ll need to download them and extract them into whatever folder through desktop mode. You’ll want to switch the game .exe to “vcredist2015_2017_2019_2022_x64.exe,” then run it, install it, then go back to the game in Heroic, return the game to its normal .exe, and play it again (remember to offer props to the Redditors who discovered this fix).
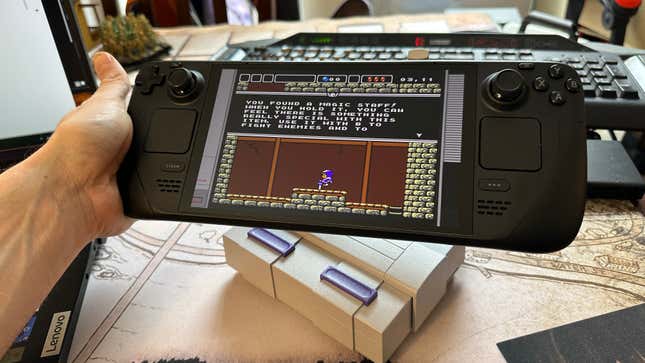
Now that we’re pretty well-versed in Steam Deck’s desktop mode, we can start thinking about running emulators. For this, we’ll want to first look at EmuDeck. This is truly an amazing program that can do pretty much everything you would want it to. It’s essentially one big platform capable of running all the biggest emulators out there. They have their own dedicated video tutorial for downloading it, which runs you through the basics of getting the program on your device. Suffice it to say that you’ll want to be in Desktop Mode before downloading EmuDeck and copying it over to your desktop from your downloads folder. Click on the file, hit Execute, and follow the instructions. You can do a quick install, which will give you all the major emulators on the platform, or do a custom install, where you can choose and select specific button layouts, save states, aspect ratios, and more.
Once you’re installed the program and put your ROMs into the correct folder for the system you’re trying to emulate, you should be able to access EmuDeck from your regular Game Mode UI under Collections. The next step is to find some ROMs to emulate, but since that’s a far more tricky legal subject, we’ll leave it up to you to find those. If you need a bit more help, check out our guides on PC game emulation and iOS game emulation.
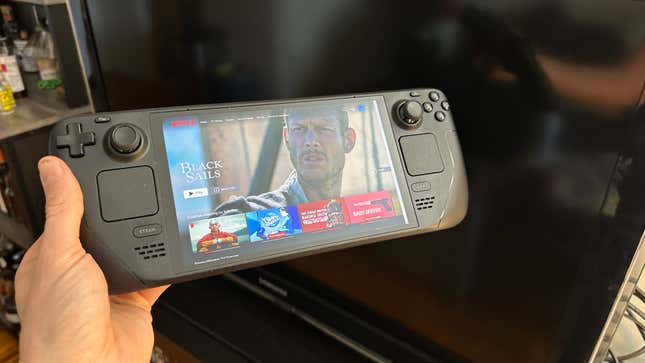
Do you like EmuDeck? Good, cause it gets even better. You don’t have to go through the rigamarole of going into a browser to watch your Netflix. Instead, you can have the app right at your fingertips from when you first boot up the console.
Go into Browser Mode, then hop into EmuDeck after you’ve installed it. On the left-hand column, slide down until you see Cloud Services. Click on that, and then select Manage Cloud Services and hit OK.
From here, select all the streaming services that apply to you. The list includes the gamut of cloud gaming and streaming services. Paramount+ still doesn’t work with Linux, and you might be restricted from watching 4K content on Netflix. It’s not like that’s really going to matter if you’re watching on the small Deck screen, but keep it in mind.
Once you hit OK, you’ll get a pop-up telling you to run Steam ROM Manager. Quit out of this screen and EmuDeck, then head over to your SteamROMManager app (if it’s not on your desktop, search for it after you click on the Steam Deck icon on the bottom left). Once in the app, go to Add Games, then hit Parse. This will show you your ROMS and front-end emulators currently installed with Steam. Search for Cloud Services under the Category drop-down menu if the list is too much. After you find the right streaming services, you can hit Add to Steam.
Go back into Game Mode, and under Collections, you should find your streaming apps. The UI isn’t perfect since it requires you to use the trackpads or sticks to move a mouse cursor, but it’s perfectly workable, and you should now have easy access to your shows when you open up your Deck.
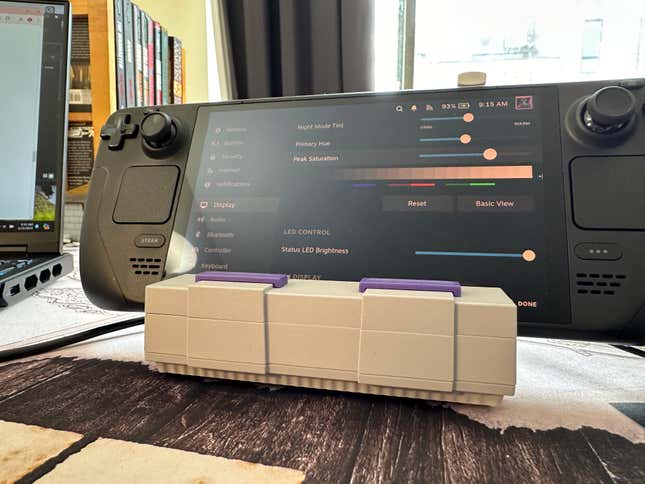
Your eyes are important, and you should help them by scheduling your Night Mode on your deck. Under Settings and Display, there’s an option to schedule a Night Mode for whenever you end up plugging away at your Deck after dark. Scroll down the options, and you can even expand it to set a custom tint for your deck at night, going so far as to mess with the hue and saturation. It’s great the Deck offers this amount of customization at base, though you may also want to look into a few plugins in Decky Loader that could make your experience in Game Mode a bit more nuanced.
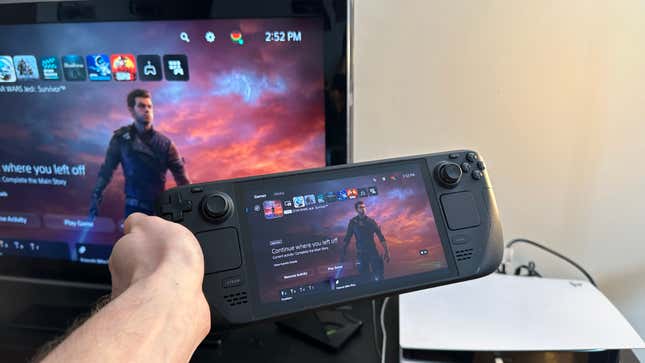
If you’re a PS5 player, you really, really don’t need a PlayStation Portal if you already have a Steam Deck or really any other handheld console. The PlayStation 5 and Xbox Series X can indeed stream to your Steam Deck, though you’ll need a bit of extra software. Again, this can get pretty involved, so strap in.
First, go into Desktop Mode and use the Discover bar to search for Chiaki, or more specifically, Chiaki4Deck, an open-source software to connect to PlayStation 4 and PlayStation 5 remote play. You might read online about other guides telling you to put in lines to the “Kommand” console, but with Chiaki4Deck you can also use this link while on the browser of your Deck, which should help you access your PSN account through Chiaki by following the instructions. This will run the script for you, and you will be prompted to enter the login credentials necessary to access the PS5 remote play.
You’ll also want to make sure your PS5 has all its Remote Link settings enabled. Go to Settings, System, then Remote Play. Ensure all but the remote start with Spotify options are turned on, and you should be ready. You’ll need your PS5 on while you start this process, as you’ll need a special pin from the system to link your Deck to your PlayStation. After this is set, running Chiaki may take a few tries to get it working correctly.
Once this is all settled, the Steam Deck should work as a streaming device as long as you’re connected to the same network. You can set up Chiaki to launch from Game Mode by going into Steam on Browser Mode, then hitting Games, Add non-Steam Game, and selecting Chiaki.
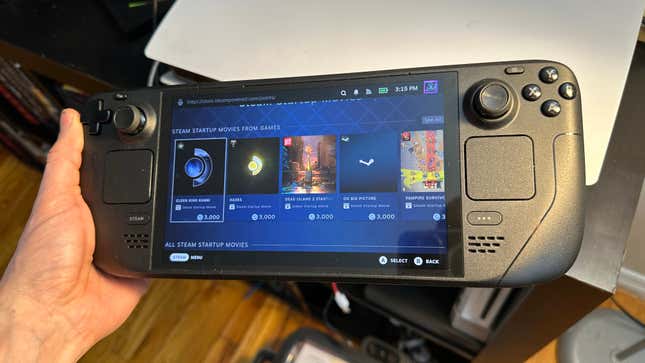
Ever wonder what the hell all those Steam Points are used for? No? Unfortunately, you can’t use them to buy games, but if you’re like me and haven’t used any in years, you’ll have enough to customize your Steam account with a host of unique avatars and backgrounds. But for Deck users in particular, there’s a special shop where you can download a host of custom startup animations.
You might not know about this because the Points Shop is strangely difficult to access. You first need to go up to your user icon in the top corner of the page, then go to View Profile and hit the button to Edit Profile. Scroll down on the left until you see the Points Shop. You can also find it from Settings, under Customization, and at the bottom where it says Find More Startup Movies. It’s also under Keyboard, where it says Find More Keyboard Themes.
From there, you can see a whole host of different items on sale that you can use to buy points. These include profiles, backgrounds, animated stickers, badges, and more. In particular, for Steam Deck, you’ll find special keyboard colors and custom animations you’ll see on startup. The Startup Movies section includes some cool gems inspired by games like Hades, Portal, or Dead Cells. There are more that are simply fun, like Deckfetti or Handmade.
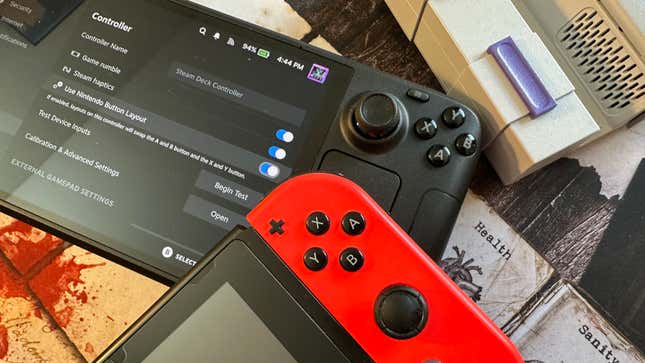
It’s a small thing, but many folks out there are not used to the A button being below the B button. The Nintendo Switch has it–well–switched, so some users would rather not have to get their thumbs used to a different control setup.
You’ll find this option by hitting the Steam button, going down to Settings then looking under Controller. It’s a simple switch, but remember to change it back. You’ll have to use the ‘B’ button instead to select the toggle.
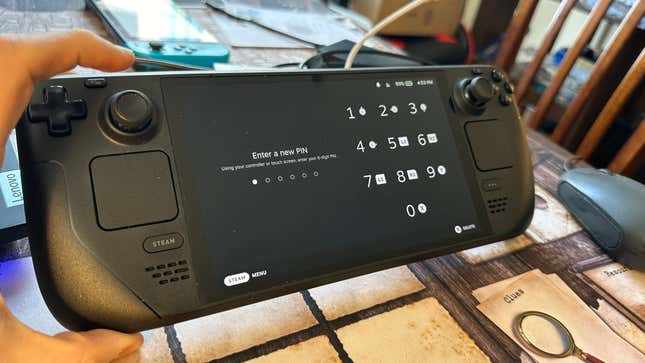
By default, anybody who wants to use your Steam Deck needs to turn it on; then they’re good to go. But one of the first updates to come to the deck added an optional PIN system you can set in case you don’t want your cousins playing with your Deck. Hit the Steam button, then go to Settings. Under Security, you can create a lock screen when you wake up the system or when showing the login screen. It’s surprising not to see it on by default, which is why you’ve probably missed it all this time.


