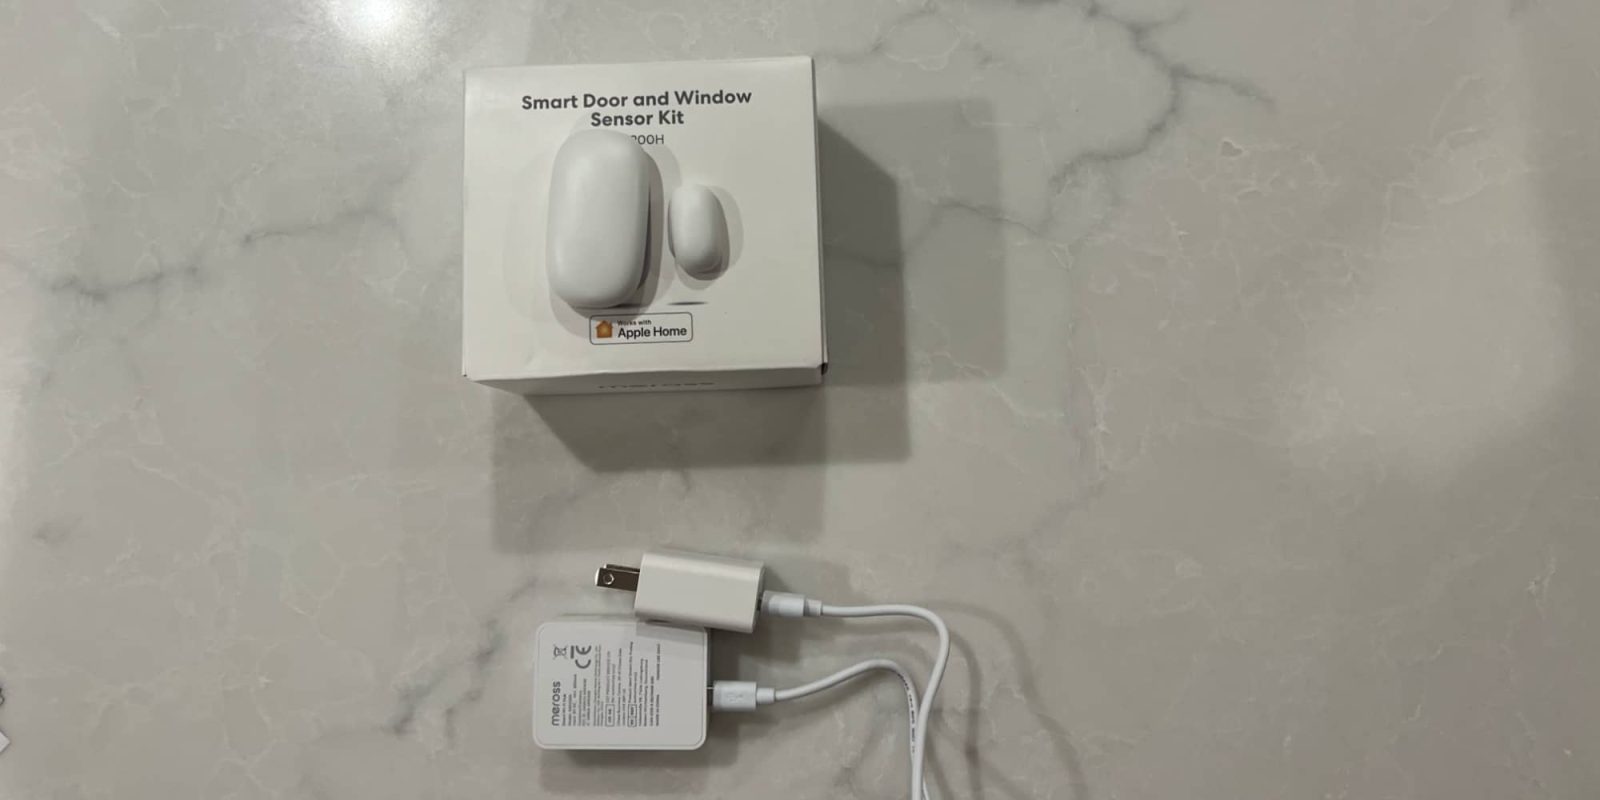
As I mentioned a few weeks ago when looking at the Onvis Thread-Enabled door sensor, HomeKit door and window sensors are some of the most underrated devices that most people aren’t thinking about. There are so many use cases that HomeKit door sensors unlock, that they might even be more versatile than HomeKit motion sensors. This week, I am looking at the Meross MS200 door and window sensor.
HomeKit Weekly is a series focused on smart home accessories, automation tips and tricks, and everything to do with Apple’s smart home framework.
Meross is one of my favorite HomeKit vendors. Since I started on my smart home journey many years ago, they’ve consistently released low-cost products that work great with HomeKit. I love their outdoor plug and HomeKit light bulbs especially. Recently, many of their new products are to leverage a Hub to bridge the devices to HomeKit. While I prefer devices that talk to HomeKit directly, this strategy might be about simplifying the product rollout strategy. Once the hub is onboarded to HomeKit, it’s likely easier to develop and release new products that simply talk to the hub.
Installation process for the Meross MS200
If you don’t have a Meross hub installed already, you’ll need to go through that process first. The first step is doing a factory reset of the hub. I am not a huge fan of needing to do this, but it only takes a few minutes. Ideally, this would be something that is done from the factory. Once that factory reset is done, you’ll walk through onboarding it into the Meross app and HomeKit at the same time. After that, you’ll go through the pairing process with the actual Meross MS200 door sensor.
The Meross MS200 comes with a reset tool that looks like a SIM card ejector, but it’s used to put the door sensor into pairing mode. All in all, it’ll take around ten minutes to go from unboxing to pairing the door sensor. Once it’s paired in the Meross app, it’ll automatically appear as a contact sensor in HomeKit. You’ll then be able to mount the sensor on a door or window.
HomeKit automations
To create a HomeKit automation with the Meross MS200 door and window sensor, the first step is to select a trigger. Open the Home app, tap on the + button, and select “add automation.” Then, choose “a sensor detects something” and locate the MS200 sensor.
Next, select a trigger automation by choosing whether you want the trigger to occur when the sensor opens or closes, based on a set time or when people arrive or leave.
Once you’ve selected your trigger, it’s time to choose an accessory to automate. You can select an action to take when the trigger is activated, such as turning on a light or playing music.
After setting up your automation, make sure to test it to ensure it’s functioning correctly. If it’s not working as expected, refine the automation by adjusting the trigger, action, or conditions. Finally, press “done,” and your automation is ready to go.
Wrap up on Meross MS200
Overall, the possibilities are endless with how you use a HomeKit door sensor. One idea I’ve been experimenting with is using it on interior doors. An example here might be that when a bedroom door opens after a certain time, the lights are flipped on. You could also use it to trigger setting your temperature to a certain setting when a door is unlocked as well.
You can buy the MS200 directly from Meross, and it’ll likely eventually come to the Meross Amazon store.
Add 9to5Mac to your Google News feed.
FTC: We use income earning auto affiliate links. More.


